Key Takeaways
- Most double glazing lasts 20–30 years, but seals, frames, and hardware can fail sooner if poorly installed or maintained.
- Signs of failure include condensation between panes, draughts, leaks, cracks or chips in glass, stiff windows, and rising energy bills.
- Prompt action – repair or replacement preserves comfort, energy efficiency, and safety.
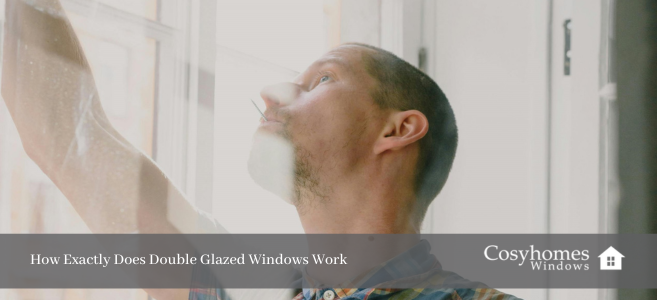
What Is Double Glazing and How Long Should It Last?
Double glazing consists of two panes of glass separated by a sealed cavity, often filled with argon gas, within a uPVC, aluminium, or timber window frame. This design slows heat loss and reduces condensation formation and outside noise.
Modern double glazing typically lasts 20–35 years, though older double-glazing units or poorly installed double-glazed windows may fail sooner. Double glazing failure usually starts with seal or window frame issues rather than the glass itself.
There are clear signs if your double glazing is no longer energy efficient, and in this guide, we explain how to tell if double glazing has failed and whether repair or replacement is the best solution.
Signs of Failed Double Glazing
Condensation and Misting Between the Panes
Condensation trapped inside the double-glazing unit and misted windows are clear indicators that the sealed unit has failed. Unlike surface condensation, moisture between double-glazing panes cannot be wiped away and reduces insulation. This can lead to increased energy bills as the temperature inside is reduced due to the windows not keeping heat in your home.
Solution: In most cases, the sealed double-glazing unit can be replaced without removing the full window. A double-glazing specialist should be consulted.
Draughts and Cold Spots
Double-glazed windows that let in cold air or create cold spots indicate a failing weather seal or window frames. This is one of the noticeable signs of double-glazing failure.
Home checks:
- Run your hand around the window frame edges on a breezy day to feel draughts
- Hold a tissue or a lit candle (carefully) near the seals
- Compare the temperature near the windows to the rest of the room
If you consistently feel draughts, this often requires the repair or replacement of the window unit.
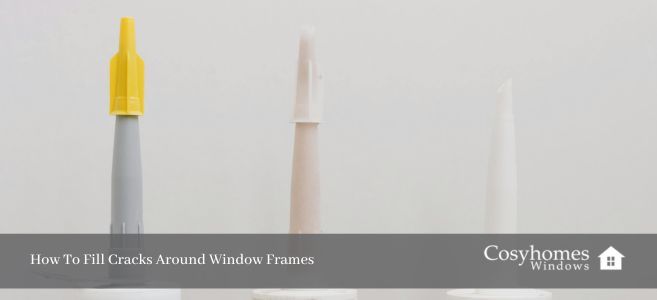
Leaks and Water Ingress
Water leaking around windows is one of the common signs of double-glazing failure.
Signs: damp patches, puddles on sills, water behind beading, leaks through frame joints.
Causes: failed sealant, blocked drainage channels, warped frames, or worn gaskets.
Prompt cleaning, resealing, or assessment by a double glazing specialist prevents rot, mould, and damage.
Cracks, Chips and Visible Glass or Frame Damage
Any visible damage affects safety and insulation.
Look for:
- Hairline cracks, star-shaped marks, or noticeable chips in glass panes
- Warped or misaligned sashes
- Swollen timber or brittle uPVC
Causes: impacts, thermal stress, building movement, or ageing frames.
Damaged glass typically requires replacement of the sealed unit, while severe frame issues may mean that full replacement of double glazing is the only option.
Stiff, Jammed or Misaligned Windows and Doors
If windows or patio doors that once opened smoothly become consistently stiff, jam, or scrape on the frame, this can indicate underlying failure rather than simple wear.
Homeowner checks to perform:
- Check if the sash has dropped (larger gaps at the top than the bottom)
- See whether locking points still line up
- Note if you need to lift or force the handle to close
- Check whether the window unit sits square in the frame
Causes: worn hinges and friction stays, warped or twisted frames from age or heat, failed packers around the glass causing the sash to move, building movement throwing the frame out of square, and initial poor installation.
Minor issues can sometimes be eased with hinge adjustment and lubrication using silicone spray. However, persistent difficulty, especially combined with draughts or cracking, suggests the double-glazing unit is nearing the end of its useful life.
Forcing stiff handles or locks risks failure of locking mechanisms, affecting both security and the ability to close the window properly against weather conditions.
Causes of Double Glazing Failure
Even high-quality units are exposed to UV, temperature swings, wind, and rain, which gradually weaken seals and materials.
Common causes:
- Ageing perimeter seal
- Poor installation (gaps, missing packers, bad sealant)
- Thermal stress (hot sun vs cold nights)
- Manufacturing quality (older units or cheap imports)
- Frequent use and general wear
Repair or Replacement
Not all failures require full window replacement.
Repair may be enough when:
- Seals have failed, but the frame is intact
- Hinges or locks need adjustment
- Drainage channels need clearing
Replacement is better when:
- Frames are warped, rotten, or heavily discoloured
- Multiple units across the property are failing
- Windows remain draughty, noisy, or cold despite maintenance
- Upgrading for energy efficiency or EPC rating
Modern replacement double glazing with low-E coatings and argon gas delivers much better insulated glazing and reduces heat transfer, improving comfort and lowering energy bills.
Summary
Identifying how to tell if double glazing has failed is key to maintaining comfort, energy efficiency, and the safety of your home. Double glazing issues can range from condensation forming between two glass panes, draughts around the window frame, cracks in glass panes, or water leaking through the sealed unit. These tell-tale signs indicate a double-glazing failure and shouldn’t be ignored.
At Cosyhomes, our team of double glazing specialists provides expert double glazing services for inspection, repair, and replacement. Whether it’s replacing a blown sealed unit, fixing a weather seal inside a window unit, or upgrading to new double-glazed windows, we ensure your double-glazing panes deliver maximum insulated glazing, energy efficiency, and protection against cold air or water ingress.
With early detection and professional guidance, you can restore optimal performance, reduce higher energy bills, and prevent further damage to window frames and window glass. Cosyhomes makes it easy to identify clear signs of failure and decide whether repair or replacement is the only option for your home.
For peace of mind, comfort, and long-lasting performance, trust Cosyhomes for expert advice and quality double glazing solutions tailored to your home.
Frequently Asked Questions
How long should good-quality double glazing last?
Modern, well-installed double glazing in the UK typically lasts around 20–35 years before major issues appear. However, seals and hardware can need attention sooner in exposed or coastal locations, where salt-laden air and more heat cycling accelerate wear. Early detection of problems can extend the useful life through targeted repairs.
Is condensation on the inside of my windows always a sign of failure?
Condensation on the room-side pane is often due to indoor humidity from cooking, showers, or drying clothes indoors, combined with poor ventilation. This type of condensation occurs on the surface and can be wiped away. Only condensation between the window panes, which you cannot wipe from either side, reliably indicates a failed sealed unit requiring replacement.
Can I replace just the glass, or do I need a whole new window?
In many cases, you can replace only the sealed double-glazed unit (the glass) rather than the full window frame. This is usually the best option when the frame is still solid, square, and in good condition, but the unit has failed due to misting, condensation between panes, or reduced insulation.
A full window replacement is more likely to be needed if the frame is warped, rotten (timber), badly discoloured, cracked (uPVC), or if the window no longer sits correctly in the opening. A double glazing specialist can confirm whether a glass-only swap is possible after checking the frame alignment, drainage, and seals.
How urgent is it to fix failed double glazing?
Failed double glazing should be dealt with sooner rather than later, especially if you notice draughts, leaks, or moisture between panes. While a blown unit is not always an immediate safety risk, it can quickly lead to problems such as rising heating costs, colder rooms, damp patches around the frame, mould growth, or further damage to seals and surrounding materials.
If the issue involves cracked glass, water ingress, or difficulty locking the window securely, it becomes more urgent due to safety and security concerns. Early repair or sealed unit replacement is typically cheaper than leaving the problem to worsen and potentially requiring a full window replacement later.