Accurate measurements for replacement windows are essential for ensuring a proper fit, as this will affect insulation, security, and overall performance. When deciding to replace windows, consider factors such as the age of the windows, visible damage, and energy efficiency.
Old windows or those with cracks and leaks often lead to higher energy costs and reduced comfort, making window replacement a beneficial investment. Read on to find out how to size replacement windows.
When Is It Time To Replace Your Windows?
There are some common signs to look for to indicate when it is time to replace your windows. These include:
- Drafts: If you feel a noticeable draft near your windows even when they are closed, this indicates poor sealing or gaps. Your existing windows are not energy efficient and can lead to heat loss in winter and heat gain in summer.
- Condensation: Persistent condensation or fogging between the panes of double or triple-glazed windows suggests that the seals have failed and moisture has filtered through, compromising the insulating properties.
- Difficulty Opening/Closing: Windows that are difficult to open or close or that don’t stay open can be a sign of warping, rusting, or other structural issues.
- Visible Damage: Cracks, chips, or warping in the window frames or glass not only diminish the window’s effectiveness but can also pose safety risks.
- Outside Noise: Increased noise from outside may indicate that your windows are no longer providing adequate noise insulation, which can be due to ageing or poor installation.
If you notice any or several of these issues with your windows, it’s time to consider replacement windows.
Tools You’ll Need
Tools that you will find useful when you measure for replacement windows are:
- Tape Measure: For taking the window’s height, depth, and width measurements.
- Level: To ensure the window frame is straight, and measurements are taken correctly.
- Pencil and Paper: To write down window measurements and notes for reference, as well as organise and track measurements and details.
- Ladder (if needed): To reach higher windows.
- Torch: To see and measure in dimly lit areas.
- Camera or Smartphone: To take photos for reference and ensure all details are documented visually.
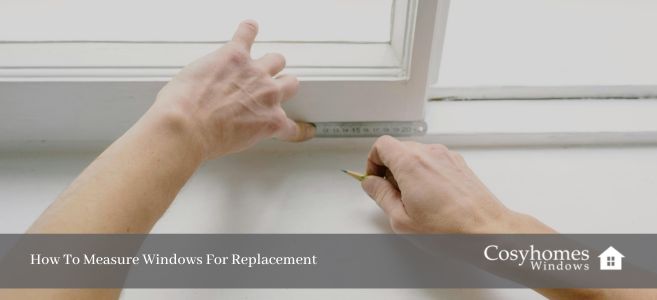
Taking Measurements: A Step-by-Step Guide
Here is our guide for taking replacement window measurements:
Measure the Opening (Exterior Preferred):
Measuring the window opening from the exterior is more accurate as it reflects the true size needed for a proper fit. Here’s how to do it:
- Width Measurement:
- Take three measurements: top, middle, and bottom of the window opening.
- Record the smallest measurement to ensure the window fits snugly.
- Height Measurement:
- Measure the height at three points: left, centre, and right side of the window opening.
- Again, use the smallest measurement for ordering.
- Diagonal Measurement (Optional but recommended):
- Measure both diagonals to ensure the opening is square. Significant discrepancies may indicate a need for additional adjustments.
Conclusion
To ensure correct measurements for new or replacement windows, it’s important to take each measurement more than once to ensure that new windows will fit perfectly. If you are unsure or don’t feel confident doing this yourself, contact a professional installer who can assist you.
For professional help, trust Cosyhomes Windows. Visit our website for expert assistance.